Visual Novel Tutorial - Episode 2: Testing & Custom Content
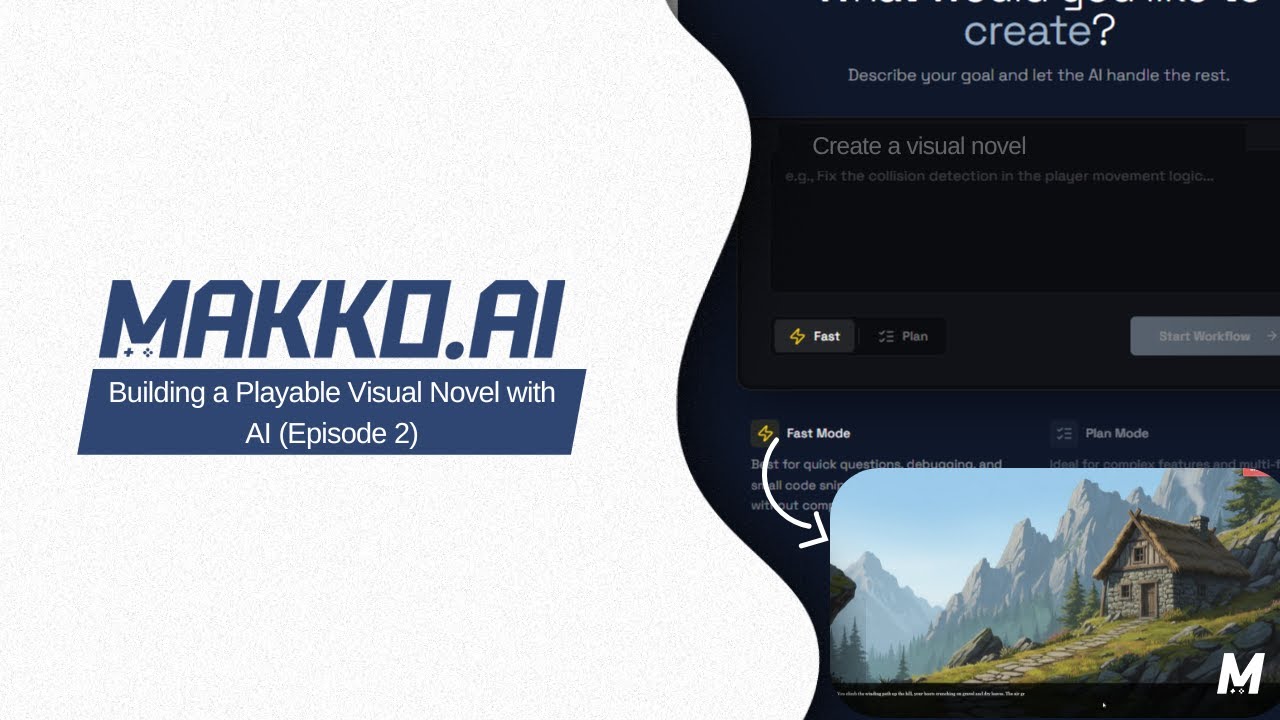
Episode 2: Testing & Custom Content
Welcome back to the MakkoAI Interactive Visual Novel Series! In Episode 1, we set up our project, planned our game with Makko, and got our first working version running. Now it's time to test everything, fix any bugs, and start adding our custom content.
What We'll Cover
In this episode, you'll learn how to:
- Test your game mechanics thoroughly
- Debug issues using Plan Mode
- Use Fast Mode for quick iterations
- Add your custom story and backgrounds
- Handle common issues with asset loading
Let's dive in!
Step 1: Verify Your Game Works
Before making any changes, let's make sure your game from Episode 1 is still working properly.
- Open your project in AI Studio
- Click Preview in the top right
- Press Rebuild to recompile your code
- Press Play to start the game
Tip: Always rebuild and test before making changes. This establishes a baseline so you know if new issues come from your changes or were already present.
Step 2: Test All Game Functions
Take a few minutes to test every feature of your game:
Check the Story Flow
- Does the narrative text appear correctly?
- Is the typewriter effect working?
- Do scene transitions happen smoothly?
Test the Skip Button
Click the Skip Story button at the top right. Does it work correctly?
Test Choices
- When choices appear, do they display properly?
- Does clicking a choice take you to the correct next scene?
Make note of anything that doesn't work as expected. We'll fix issues as we go.
Step 3: Debug the Skip Button
A common issue at this stage is the skip button not working. If you click it and nothing happens, let's diagnose the problem using Plan Mode.
Switch to Plan Mode and enter this prompt:
"My skip button is working. However, when I select the 'skip' option before the text is revealed, this skip overlay does not go away. Can you investigate and take a look as to why this is happening?"
Wait for Makko to analyze your code. It will examine the skip functionality and identify any issues.
Step 4: Fix the Race Condition
The skip button issue is typically caused by a race condition - the skip overlay tries to close before it's fully opened.
Here's what's happening:
- User clicks "Skip" very quickly (before text finishes)
- The "activateSkip()" function is called
- But the overlay wasn't fully initialized yet
- So the "close" action has nothing to close
Makko will identify this issue and propose a fix. The solution usually involves:
- Adding a check to ensure the overlay is ready before allowing interaction
- Or adding a small delay to prevent the race condition
Review Makko's proposed fix and Approve it if it looks correct.
Step 5: Verify the Fix
After Makko implements the fix, let's test it quickly using Fast Mode.
Why Fast Mode? Fast Mode is perfect for quick iterations and testing. It processes requests faster and uses fewer credits than Plan Mode. Use it when you're making small changes or testing fixes.
- Switch to Fast Mode
- Rebuild your game
- Test the skip button again - try clicking it at different times during the text reveal
- Verify the issue is resolved
If the fix works, great! If not, describe the remaining issue to Makko and iterate.
Step 6: Prepare for Custom Content
Now that our base game is working, it's time to add your own story! Switch back to Plan Mode for this larger change.
Enter a prompt like:
"I would like to start implementing my own story. I have the first scene ready. What information do you need from me to get started?"
Makko will ask you for details about:
- Scene content - The narrative text for the scene
- Background setting - What location/environment should be shown
- Characters present - Who appears in this scene
- Choices - What options the player has at the end
Step 7: Input Your First Scene
Provide Makko with your scene details. Be specific but concise. For example:
"Scene 1 takes place in a mystical forest at twilight. The narrative introduces our protagonist discovering an ancient artifact. At the end, the player can choose to: (A) Pick up the artifact, or (B) Leave it alone and explore further."
Makko will generate the story data and update your game files accordingly.
Step 8: Add Custom Backgrounds
Your story needs visual atmosphere! Let's add custom background images.
Using Asset Manager
- Click on Assets in the left sidebar
- Select Quick Actions
- Choose Generate Background
- Describe your scene: "mystical forest at twilight with glowing mushrooms and ancient trees"
- Wait for the AI to generate your background
- Save it to your project assets
Alternative: Upload Your Own
If you have existing artwork:
- Open Assets > Quick Actions
- Choose Upload Background
- Select your image file
- The image will be added to your project
Connect Background to Scene
Once your background is ready, tell Makko:
"Please update scene-1 to use the new background image I just added."
Makko will update the scene configuration to reference your new asset.
Step 9: Fix Background Loading Issues
After adding backgrounds, you might see the background not appearing or flickering. This is often an async vs sync loading issue.
The problem: Your scene tries to display before the background image finishes loading.
If you see this issue, prompt Makko:
"The background isn't showing up when the scene loads. I think there might be an issue with async image loading. Can you investigate?"
Makko will typically fix this by:
- Adding proper async/await handling for image loading
- Ensuring the scene waits for all assets before displaying
- Adding a loading state while assets load
Step 10: Handle Window Resize
Another common issue: when you resize the browser window, the canvas may clear or display incorrectly.
If you notice this:
"When I resize the window, the game canvas clears and the background disappears. Can you fix this so the scene re-renders properly on resize?"
The fix usually involves adding a resize event listener that:
- Recalculates canvas dimensions
- Redraws the current scene
- Maintains proper aspect ratio
Step 11: Remove Placeholder Sprites
If your initial game included placeholder character sprites that you don't want, let's clean those up.
"I want to focus on backgrounds for now. Please remove the placeholder character sprites from scene-1 so we just see the background and narrative text."
This simplifies your scene while you work on getting the basics right.
Step 12: Fix Sprite Loading Errors
After removing sprites, you might see console errors about missing sprite files. This happens when the code still tries to load sprites that no longer exist.
If you see errors like:
Failed to load resource: sprite.png
Tell Makko:
"I'm seeing errors about missing sprite files. Can you make sprite loading conditional so it only tries to load sprites when they're actually defined in the scene?"
The fix involves adding checks before attempting to load character sprites, so empty or undefined sprite references don't cause errors.
Troubleshooting Tips
Game Not Rebuilding?
- Check for syntax errors in the console
- Try a hard refresh (Ctrl+Shift+R or Cmd+Shift+R)
- Clear your browser cache
AI Not Understanding Your Request?
- Be more specific about what file or function you're discussing
- Include the exact error message you're seeing
- Break complex requests into smaller, focused prompts
Need More Help?
Join our community on Discord to get help from other creators and the Makko team!
What's Next
Congratulations! You now have:
- A tested, working game foundation
- Your first custom scene with a background
- Knowledge of how to debug common issues
- Experience with both Plan Mode and Fast Mode
In Episode 3, we'll continue expanding your visual novel by:
- Adding multiple scenes and branching paths
- Implementing character sprites with animations
- Creating a more complex narrative structure
Missed the beginning? Check out Episode 1 to set up your project from scratch.
Ready for more? Episode 3 coming soon! Subscribe to our YouTube channel to be notified when it's available.